A guide to 'My Pension Online' registration

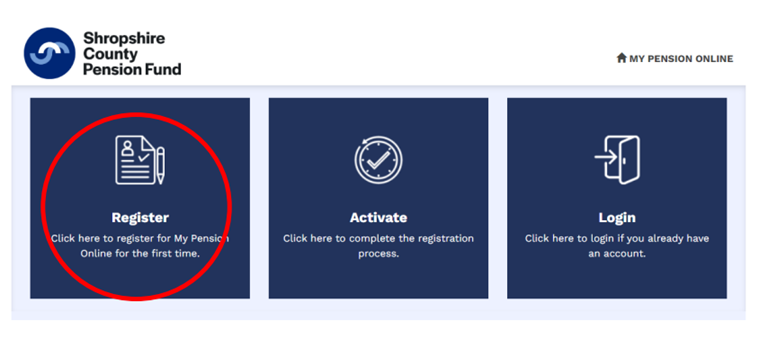
1. Click on the 'My Pension Online' button below.

My Pension Online button

2. If you are new to My Pension Online click on the “Register” button.

2.	An image showing the home screen of ‘My Pension Online’. Three buttons are displayed. The first button reads ‘Register, click here to register for my pension online for the first time’. The second button reads ‘Activate, click here to complete the registration process’. The third Button reads ‘Login, click here to login if you are already have an account’. The first button that reads ‘register’ is highlighted with a red circle.

3. Fill in the details in the sign-up box below.

1.	The image shows the sign-up box that will be displayed after clicking the ‘register’ button. The text reads ‘Sign up, an activation key will be sent to the email address provided’. Please note, this may take up to 3 working days if your email address is not held on our records. Please do not submit another sign up request during this time. This is followed with four fillable boxes requesting the following information, surname, National Insurance number date of birth and email address. The boxes are then followed by two blue buttons the first reads ‘Sign Up’ and the second reads ‘Cancel’.

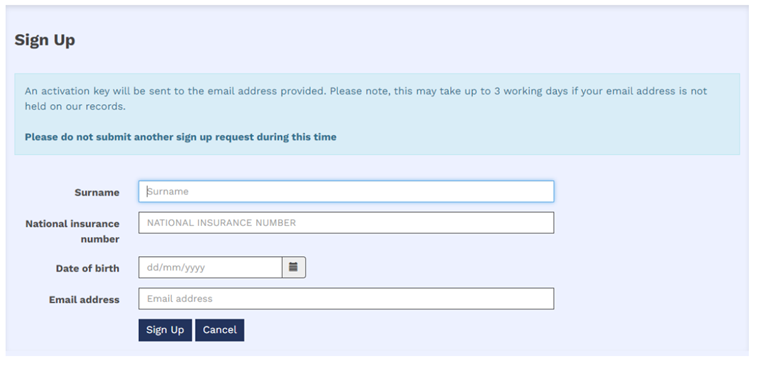
4. If you have used an e-mail address we hold on record for you, you will see the box below and then an e-mail will be sent to your inbox (please check your spam/junk folder).

4.	The image shows a green box that read ‘Success, activation key requested. An activation key will be sent to your email address once we have verified this request. Please note, this may take up to 3 working days if your email address is not currently registered’.

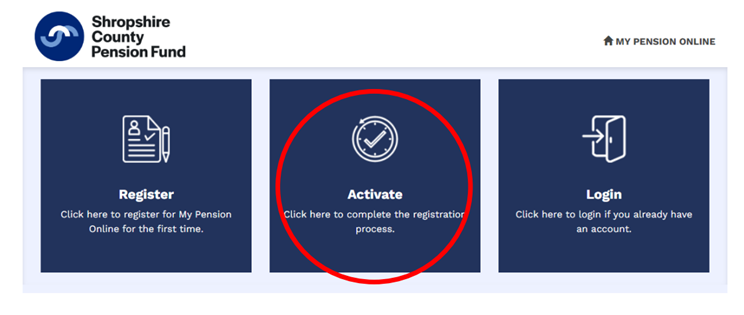
5. After receiving the email please return to the log-on screen you previously visited and click on the link marked "complete your registration"

5.	An Image showing the home screen of ‘My Pension Online’. Three buttons are displayed. The first button reads ‘Register, click here to register for my pension online for the first time’. The second button reads ‘Activate, click here to complete the registration process’. The third Button reads ‘Login, click here to login if you are already have an account’. The second button that reads ‘Activate’ is highlighted with a red circle.

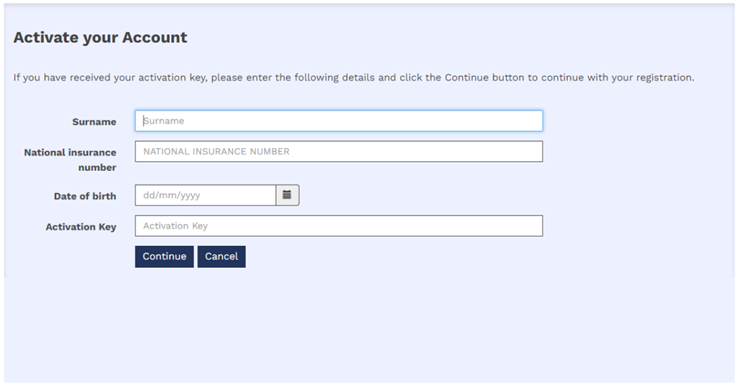
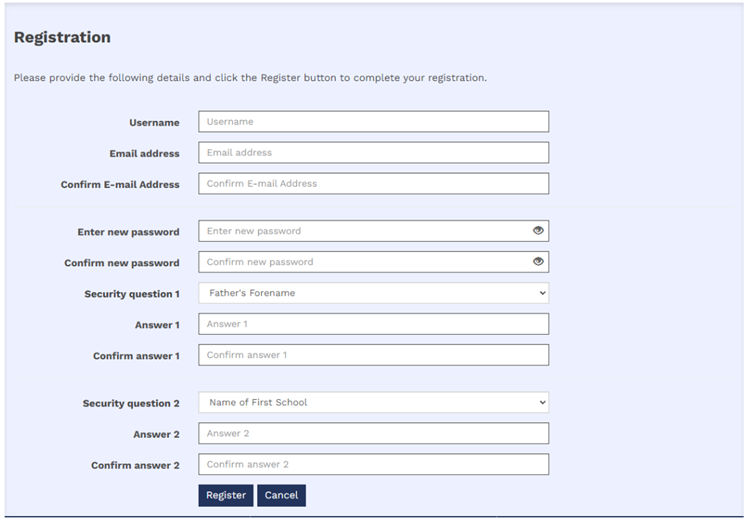
6. Fill in the details in the activation box pictured below. This is where you will need to create a Username, Password and set up two security questions.

Your username cannot be your email address and it can’t contain any blank spaces or the @ symbol.

The image shows a box that reads ‘Activate your account, if you have received your activation key, please enter the following details and click the continue button to continue with your registration’. This is followed with four fillable boxes requesting the following information, surname, National insurance number date of birth and the activation key. The boxes are then followed by two blue buttons the first reads ‘Continue’ and the second reads ‘Cancel’.

7. Fill in your details in the registration box, shown below:

7.	The image shows a box that reads registration with 11 fillable boxes. The first three boxes request the following information user name, email address and confirmation of email address. The next two fillable boxes request a new password and password confirmation. The next box is a drop down menu where the first security question must be selected for example father’s forename followed by a box for the answer to the question and then an answer confirmation fillable box. The next three boxes are the same as the last three however, a different security question must be answered. The boxes are then followed by two blue buttons the first reads ‘Register’ and the second reads ‘Cancel’.7.	The image shows a box that reads registration with 11 fillable boxes. The first three boxes request the following information user name, email address and confirmation of email address. The next two fillable boxes request a new password and password confirmation. The next box is a drop down menu where the first security question must be selected for example father’s forename followed by a box for the answer to the question and then an answer confirmation fillable box. The next three boxes are the same as the last three however, a different security question must be answered. The boxes are then followed by two blue buttons the first reads ‘Register’ and the second reads ‘Cancel’.

8. When you have successfully completed the information in step 7 you will see the success box and you will be signed into My Pension Online. You will be taken to the log-in screen where you can enter the username and password you have just created.

8.	The image shows a green box that read ‘Success, your new pension online account has been created and you may now log in.’